
This is a sponsored conversation written by me on behalf of Cricut. The opinions and text are all mine.
After learning how to use a Cricut Explore Air 2, I couldn’t resist breaking out my Cricut Easy Press 2 and trying a simple iron-on project with that as well.
I searched through the design space and found this cute Vacation Mode template and decided to use it on a t-shirt. You can get the project details here.
I love how it turned out!

The design cutting was all handled with the Explore Air 2 and then the iron-on application was completed with the Easy Press 2. You can also use the Easy Press for infusible ink!

The answer is pretty simple if you’re wondering why you’d want to use the Easy Press instead of a traditional iron.
The Easy Press 2 maintains an even temperature over the entire heating plate – no hot spots.
With the push of a button (so easy!), you can set the exact temperature needed for the materials you’re using (here’s a heat guide chart) and in 60 seconds or less, you’ll have lasting professional quality results.
I also really like that it has an insulated safety base to hold the press in between uses so there’s no worry it will topple over as irons do. The Easy Press also automatically shuts off after 10 minutes of inactivity.

How to Make a Vacation Mode Tshirt with Cricut
Tools and supplies
- Cricut Explore Air 2
- Tshirt
- Vacation Mode template pattern
- Everyday iron-on (I used bright teal)
- Weeding tool
- Cricut Easy Press 2
The first step is to decide on your t-shirt iron-on color. The possibilities are limitless with a seemingly endless array of colors, but I chose a very vacation-y looking teal blue.

I selected the design template in Cricut Design Space and toggled the mirror button to reverse the image for use as an iron-on. Don’t forget that step!

Next, I loaded the iron-on attached to a mat into my Cricut Explore Air 2 and let it make all the cuts for me.

After the cuts were made, I pulled off the excess material from the grip mat and used a weeder for the detailed work.
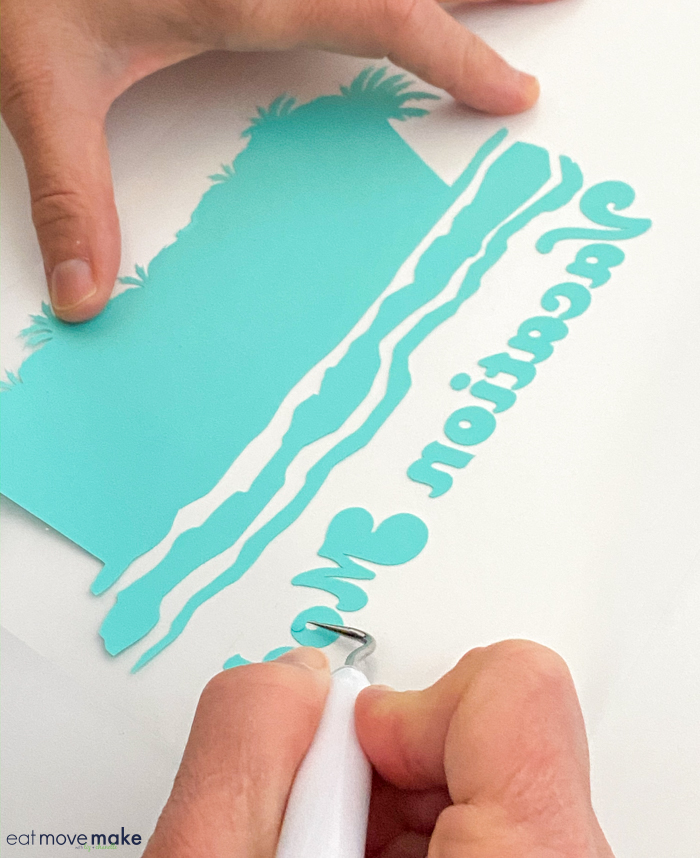
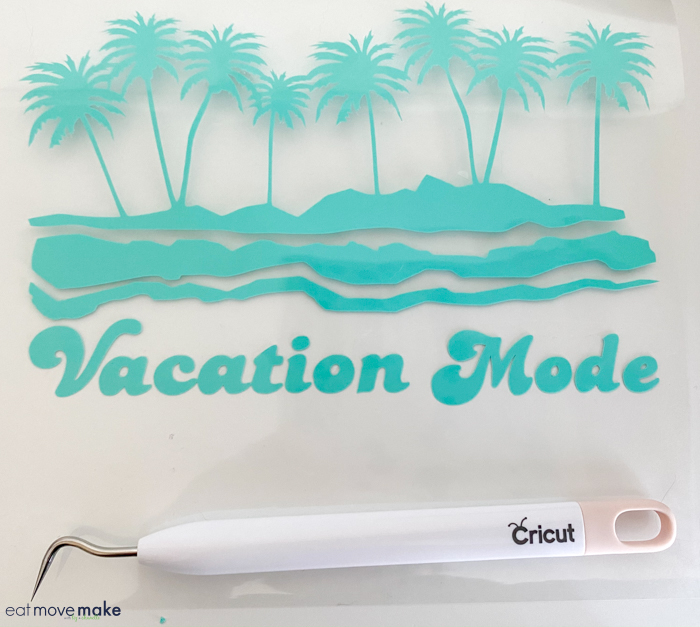
When I was finished weeding, the design looked like this.
My design was ready to be ironed on, so I pre-heated my Easy Press 2 based on this Easy Press Heat Guide. I needed a temperature of 315° and a press time of 30 seconds for my materials.
I laid my shirt on the Easy Press Mat (you could also use a towel) and pre-heated the t-shirt briefly with the Easy Press. Next, I positioned my Vacation Mode t-shirt design (liner side up) on the tshirt and pressed it for 30 seconds using gentle pressure. Then, I flipped it over and pressed on the reverse side of the shirt for 15 seconds.

I wanted to do a warm peel, so I didn’t wait too long before pulling the shiny backing off, and it came out perfectly. If any part of the iron-on hadn’t stuck, I would have heated it for another 10-15 seconds and tried again.

I’m really happy with my new vacation mode tshirt! I think the design would also look really cute on a tote bag, so I may make that for a gift!

Order your own Cricut Explore Air 2 and/or Cricut Easy Press 2 and start creating!
Pin this Vacation Mode Tshirt project to Pinterest!


