
This Christmas Lollipop Bouquet is a fun and tasty way to decorate for the holidays. Anyone with a sweet tooth can grab a lollipop from the candy bouquet and enjoy a treat!

What you’ll need to make a Christmas lollipop bouquet:
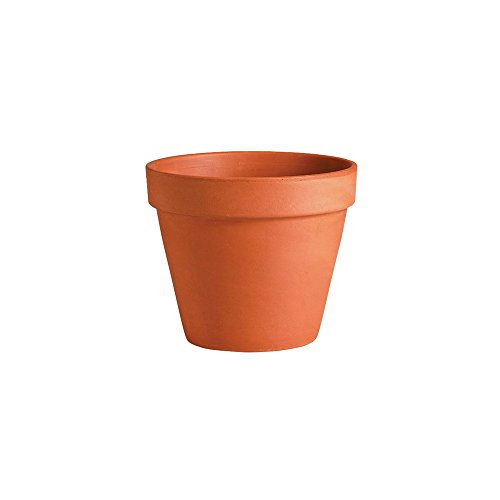
- 4-inch clay pot
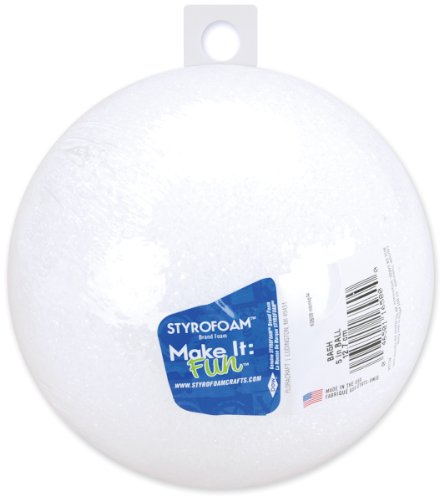
- Styrofoam ball
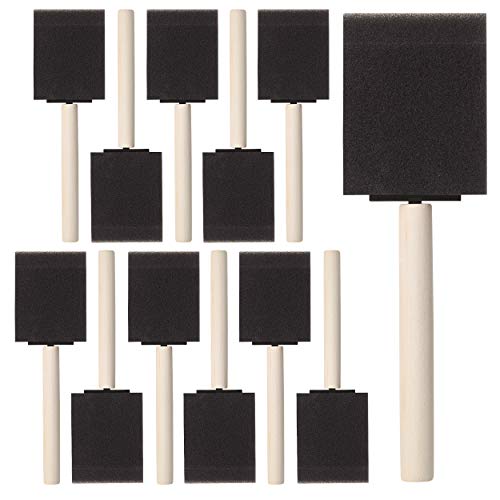
- Foam brushes
- Glue
- Christmas-themed tissue paper
- Christmas ribbon
- Acrylic paint in holiday color of choice
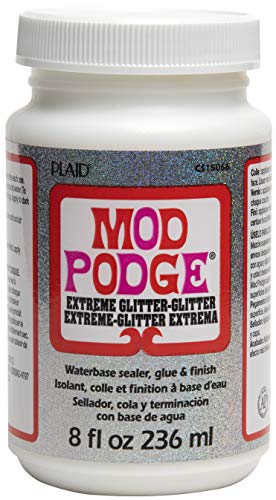
- Glitter Mod Podge
- 70-80 medium-sized lollipops (exact number will vary depending on placement and lollipop size)
- Mini decorations
Bates- Foam Paint Brushes, 16pcs, 2 Inch, Sponge Brushes, Sponge Paint Brush, Foam Brushes, Foam Brushes for Painting, Foam Brushes for Staining, Paint Sponges, Foam Sponge Brush Deroma 01110PZ 4FloraCraft Styrofoam Ball, 5-Inch, White, 1-PackMod Podge CS15066 Extreme Glitter 8 OzAleene’s Original
What are the best lollipops for a candy bouquet?
Honestly, I feel like you should choose the lollipops you love. However, I wanted to make a Tootsie Pop bouquet —my son loves them— but I would have spent a fortune because they don’t put enough Tootsie Pop suckers in each bag. In theory, a Dum Dum lollipop bouquet would be great because there are SO many different flavors in a single bag, but they’re also smaller and you’d need a lot more of them to fill the candy bouquet. It’s really up to you!
How to make a Christmas candy bouquet
Paint your clay pot with acrylic paint.
It may take two coats. I usually use these inexpensive foam brushes for crafting. They cover a large area and don’t leave bristles behind like regular brushes do.
When you have the paint color how you want it, brush a coat of glitter mod podge over the top and let it dry completely.

Attach the styrofoam ball.
Put a strip of glue around the inside of the clay pot and place the styrofoam ball inside and let dry. It will snuggle the pot but most of it will stick out.


Cut out tissue paper squares.
While the glue dries, start cutting out tissue paper squares. I measured a square pattern and cut multiple sheets of tissue at a time.
Tip: Look for inexpensive holiday-themed tissue paper at the dollar store. I found multi-packs for $1 at Family Dollar.

I also found inexpensive lollipops at Family Dollar.

Wrap the lollipops.
Wrap each lollipop in a tissue paper square, twisting the tissue paper at the neck of the lollipop to secure.
There’s no need to waste time taping the tissue or tying a string around the twists. They’ll hold just fine when pressed up against the styrofoam ball.

Build the lollipop bouquet.
Next, stick each of the wrapped lollipops into the styrofoam starting at the bottom and gradually working your way to the top.

Add final decorations.
Tie a pretty Christmas ribbon around the lip of the pot and glue in place. Then add any other decorative elements you’d like onto your lollipop bouquet (totally optional).


This simple Christmas lollipop bouquet will be a fun and festive addition to your holiday decor! You can replace lollipops as they’re removed or wait until next year and start all over again. Bonus: the holes are already there so you know exactly where to poke the sticks in.
Lollipop Bouquet Variations
While I originally designed this to be a Christmas lollipop bouquet, it could easily be adapted to other holidays and seasons.
- Pastel colors for Easter and spring
- Oranges and yellows for fall, Halloween and Thanksgiving
- Pinks and reds for Valentine’s Day
- Red, white and blue for Memorial Day and 4th of July
- Bright pink, royal blue, lemon yellow, candy apple red and turquoise for summer
- Silver, gold and black for New Year’s Eve
- Blues and silvers for winter
- Green and white for St. Patrick’s Day


Leave a Reply