
Do you ever have a harebrained scheme that you think about a lot but just never comes to fruition for some reason? I must admit I have them often. I am, however, proud to say that this blog post is about an idea that did finally come to life…even if it took a few years. I present to you, my Upcycled Thrift Store Art project!
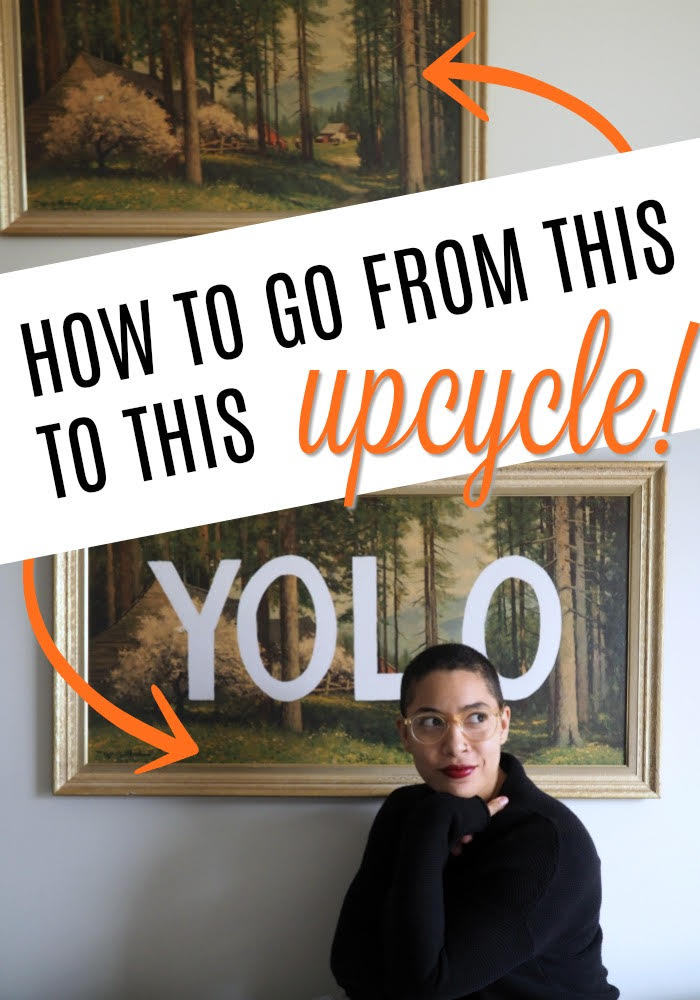
A few apartments ago, I purchased a painting (well, a framed print) of a wooded cabin scene from an antique store for $15 or $20. I bought it mainly because I liked the gold frame and it was large enough to fill a big empty space on my wall. Here’s what it looked like:

Because I didn’t particularly care for the actual subject of the art print, I started to think of ways I could jazz it up almost immediately. At some point, I came across this project on Young House Love where they stenciled some words over a generic painting and was sold.
I just had to think of what I wanted it to say…

You might have spotted it in this recent post
Well, I finally decided it should say YOLO! It’s my 2018 motto.
Sherry and John from Young House Love did theirs much more professionally than I did mine. They DIYed letter stencils with an actual font, while I just freehanded it. But it still turned out super cool. At least I think it did! To find out how I did it, keep on readin’.

I also gave a sneak peek of it in this post
How to DIY Graphic Lettering on Thrift Store Art
First, gather your supplies. You’ll need:
- Paint that contrasts with your background art (I used a sample of wall paint I had laying around)
- Small paintbrush
- Ruler and/or measuring tape
- Chalk
I also set out some painter’s tape and a larger paintbrush but didn’t end up using them. Sidenote: I totally forgot to take pictures of this project until I was almost finished…and I did it at night so the lighting is bad. Oops!

The first step was to measure the painting and make guidelines with chalk. You could also use a pencil, but chalk lines will be much easier to erase in the end.
I measured to the middle of the painting horizontally and drew a chalk line all the way across.
Then I divided the horizontal line into four sections; one for each of the four letters of the word I chose. I drew vertical lines at the midpoint of each of the four sections.

The next part I freehanded. If you’re using stencils, it will be much easier. I sketched out the letters in chalk, using the ruler as a straight edge for the Y and L.
Then I carefully painted in each letter with a small paintbrush.

I made sure to stand back and look at my work a few times to make sure things were even. I added some volume to some of the letters and straightened out some lines as needed.
Once I had filled in all the letters I went back and did a second coat to make it fully opaque.
After I waited for the paint to dry, the last, most satisfying step was to take a damp paper towel and wipe away all the chalk lines!
Didn’t it turn out great? Now it’s not just a blah, generic painting, it’s a cool piece that shows my personality and has some sweat equity in it. 🙂
Upcycled Thrift Store Art
Even if you don’t copy this project exactly, I hope it inspires you to create something beautiful using things you already have! Happy upcycling!

